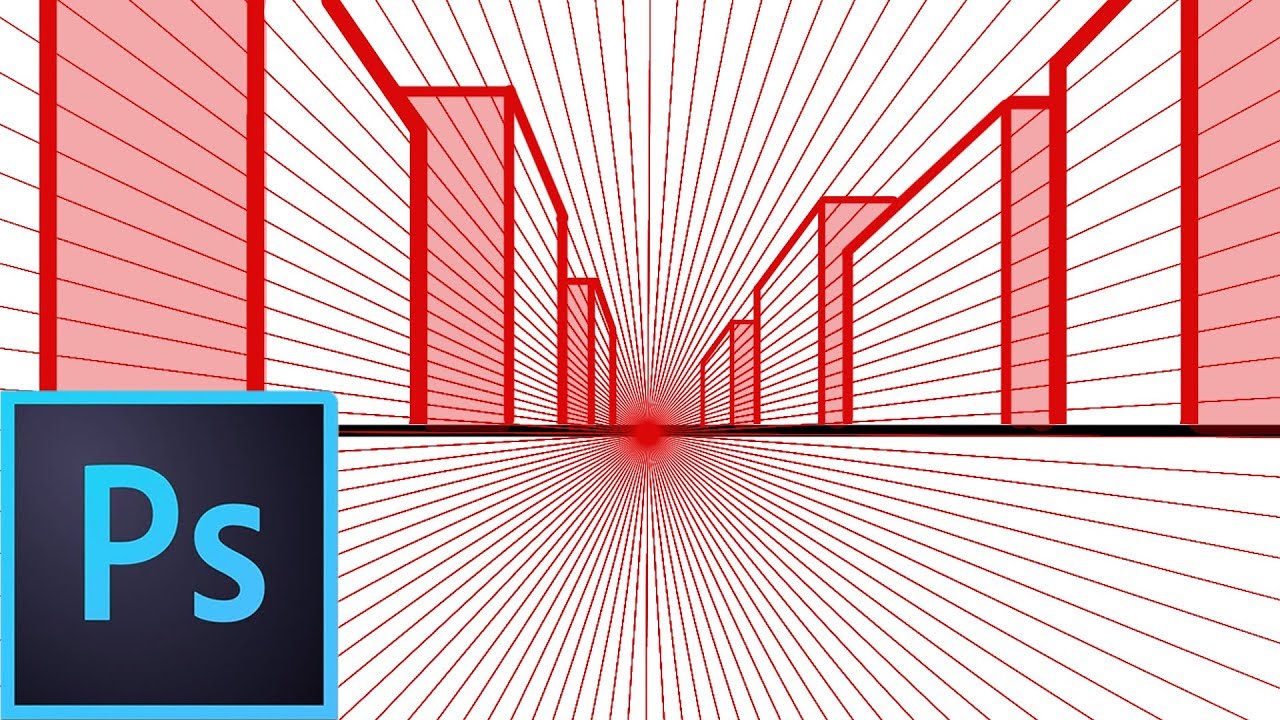
First of all open up the program and create a document according to your need. Draw quads along the planes of the architecture in the image.
How To Make An Easy Perspective Grid On Photoshop By Iingo On Deviantart
Select Edit Perspective wrap Adjust the grid as per your requirement.

. How to Make a Grid in Photoshop. You can change things like the grid color the distance between grid lines and the number of subdivisions between the main lines. Click and drag at each of the corners of the grid plane to line them up with the apparent corners of one face of the building.
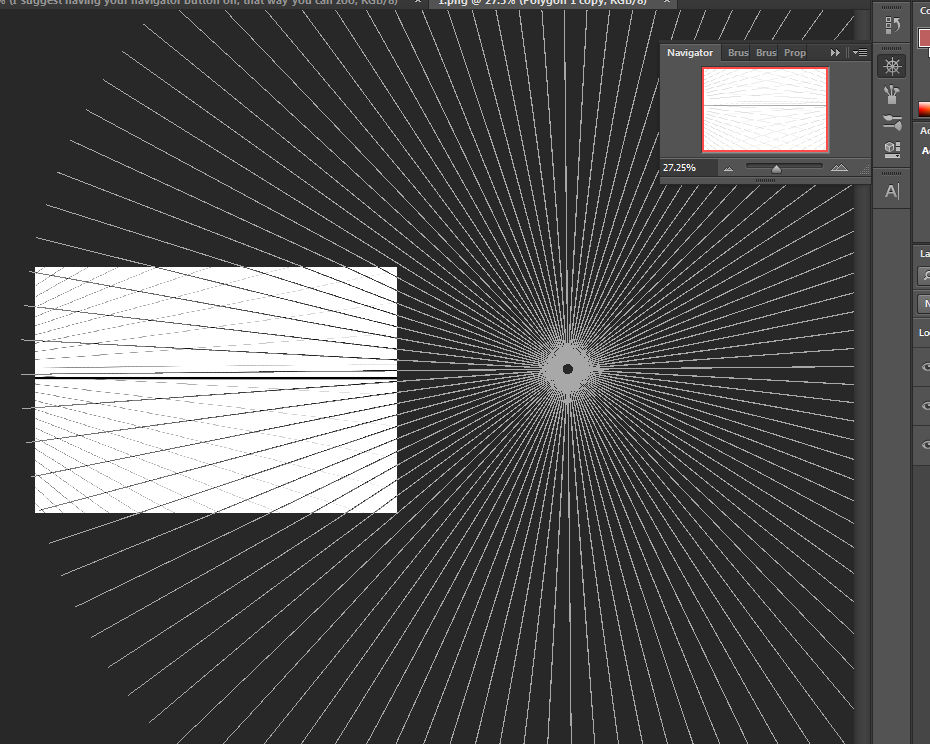
Now lets go through the creating process of a perspective grid. Make it however large you want your image to be and fill with black. Click on View then Show and finally on Grid Once youve arrived at this window you can set preferences guides for your grid which gives you more control over what it does.
Making a perspective grid. To use it simply click on any well defined corners and edges in the photo where you want to place the frame. Here are a number of highest rated Point Perspective Grid pictures upon internet.
We say you will this kind of Point Perspective Grid graphic could possibly be the most trending subject like we ration it in google lead or facebook. This will give you equal spacing on the top and the bottom of the picture. We show you how to use perspective grids in this episode we show you 1 2 and 3 point.
The Vanishing Point dialog will appear. Click on the custom pattern select our little grid that we just made. While drawing the quads try to keep their edges parallel to the straight lines in the architecture.
To use it simply click on any well defined corners and edges in the photo where you want to place the frame. It is pretty easy to make a grid in Photoshop. Todays tutorial Part 7.
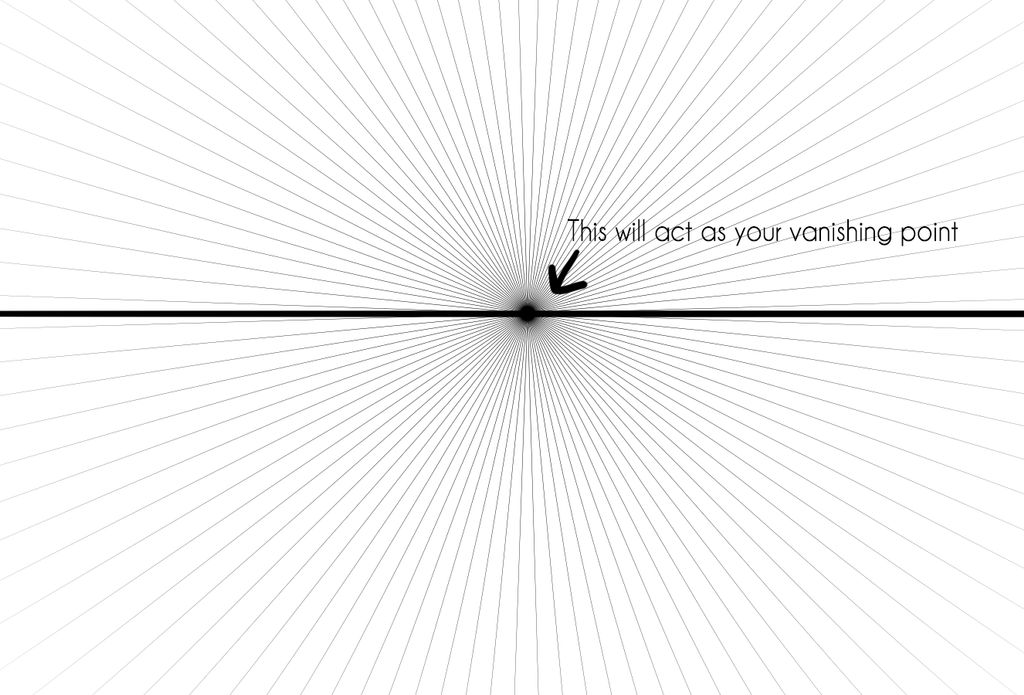
Draw a nice straight line in the middle of the canvas or wherever you want it. Review the onscreen tip and close it. Click anywhere in the image to create a perspective grid plane.
And how to make a Wa. The Vanishing Point dialog will appear. Then start with the following steps.
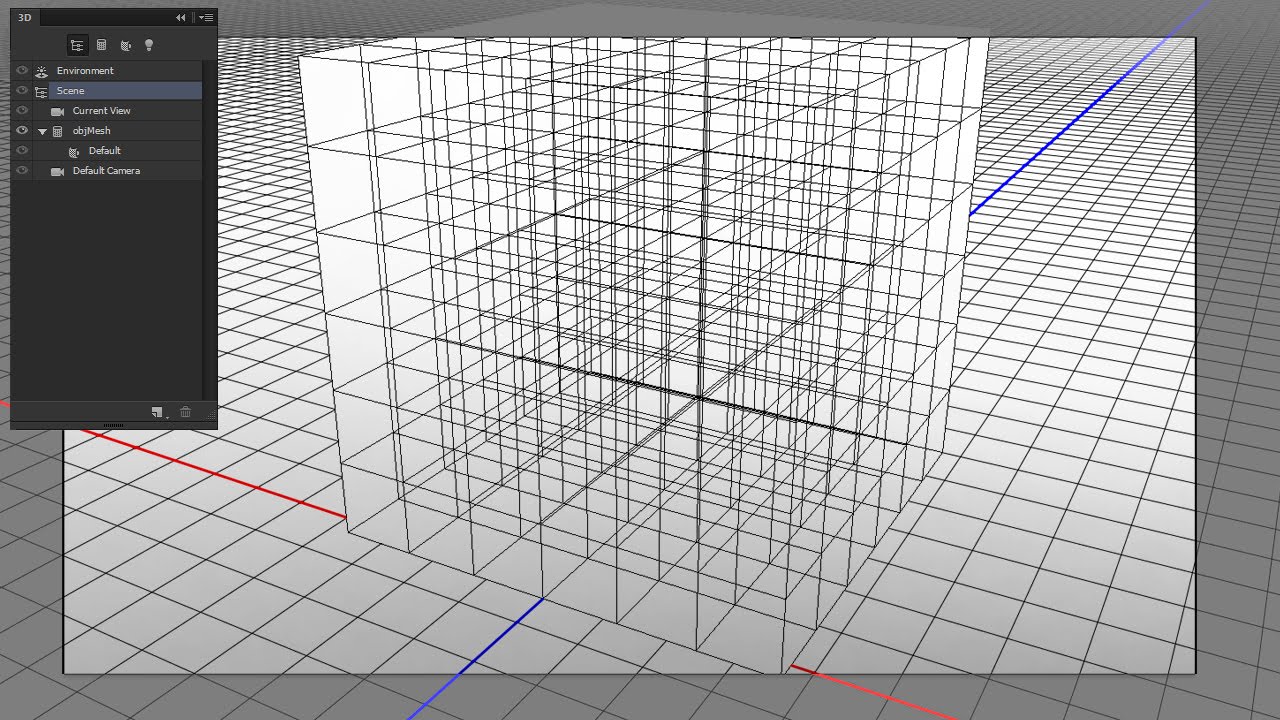
Choose Edit Perspective Warp. We will also show different ways to create a perspective grid and then use it for drawing three-dimensional objects. Know the width of the file that you will be.
Then with the little preferences menu. How to Make an Easy Perspective Grid on Photoshop. Make any size document you want.
I have explored the polar grid tool in Illustrator and. Add an empty layer. Maybe you want to use it for a graphic or you want to make a mask or any number of things.
Edit the Photoshop Grid Preferences. Click on the Filter Menu and then Vanishing Point. You get to the following grid which can be adjusted in numerous of ways using the handles as indicated in the figure- Draw the shape.
There are many reasons why you want to make a grid. Open any file or create a new one. Let me know if this was helpful.
To reshape the perspective plane drag a corner node. You can also adjust the grid size when the Create Plane tool is selected. EditFill or press ShiftBackspace.
Thatll act as your horizon line. We identified it from trustworthy source. Click on the Filter Menu and then Vanishing Point.
Point Perspective Grid. With the latest updates the old process no longer works. Hold down Alt Windows or Option Mac OS and drag from the vertical ruler to create a horizontal guide.
Create a new blank layer and open the fill dialog box by. How to make an easy perspective tool in Photoshop using the Polygon tool. Drawing perspective in Illustrator Create a new document in illustrator by selecting File New Select viewPerspective GridOne Point Perspective 1-P-NormalView.
Until now there was a tried and true system to create a perspective grid in Adobe Photoshop. How can I create a spherical perspective grid six point perspective in Photoshop or Illustrator CS5 where the poles are shown on the top and the bottom exactly like the image below. How to Work With Perspective in Photoshop will explain a bit about the theory behind perspective and will focus on how to set up construction lines vanishing points and a horizon.
Draw a horizontal line preferably in the middle of the canvas. Once you create four corners a. Open the image in Photoshop.
Dragging to create a horizontal guide. Use the Polygon Tool. How to Make a Photoshop Grid.
Its submitted by presidency in the best field. Drag from the horizontal ruler to create a horizontal guide. Select the layer you wish to apply perspective grid.
Once you create four corners a grid will appear in the perspective that you defined. Open the grid settings dialog box by going to Edit - Preferences - Guides Grid Slices in the menu. Rasterise the layer 3.
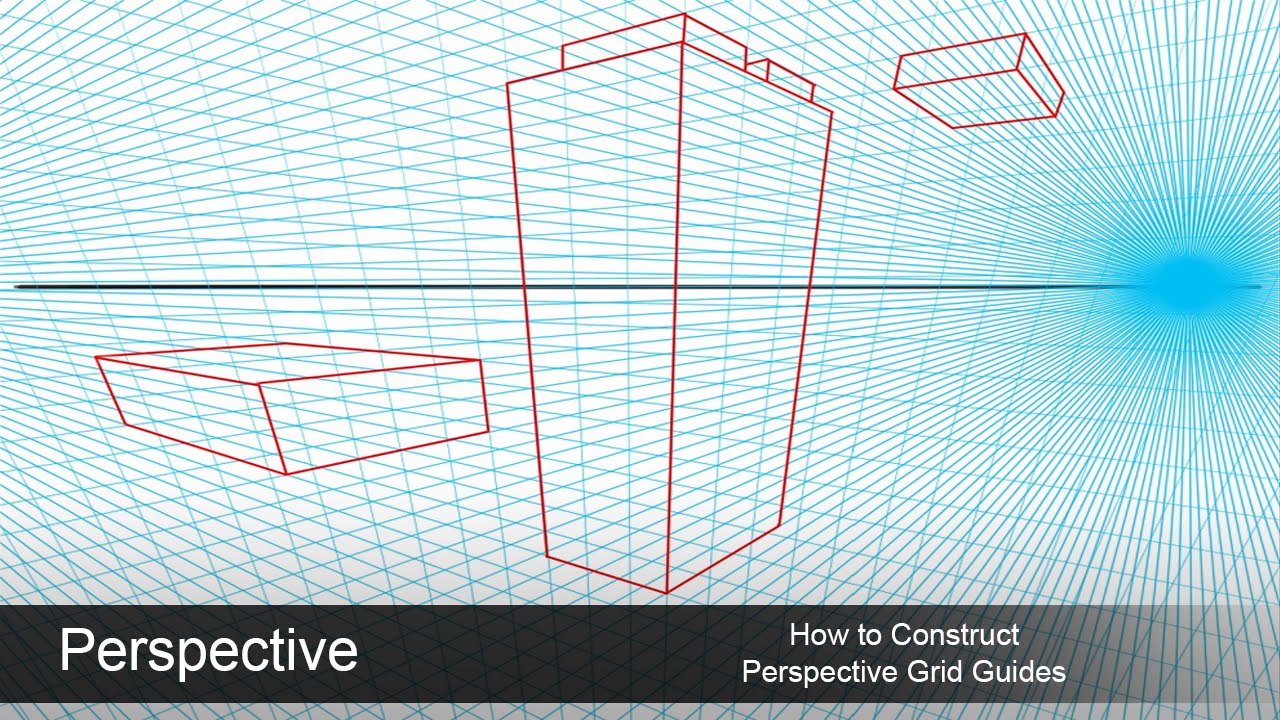
This can be used for one points perspective 2 point perspective etc. Perspective grids in Photoshop are easy to make. How do you add perspective in Photoshop.
Under contents use Pattern. How do you add a grid in Photoshop. To adjust the grid enter a value in the Grid Size text box or click the down arrow and move the slider.
In the dialog box select Horizontal or Vertical orientation enter a position and click OK. Go to the menu at the top left of the filter then choose Render Grids to Photoshop Click OK and the perspective grid will be drawn on your empty layer. In order to apply perspective grid you need to 1.
Open the vanishing point filter. You can make a perspective grid in the vanishing point filter. 9 Steps with Pictures Set the grid size to the increments you want then double-click the Grid tool.
Perspective Drawing In Photoshop Grids And Tips Youtube
Photoshop Perspective Grid Shapes Download Photoshop Perspective Grid
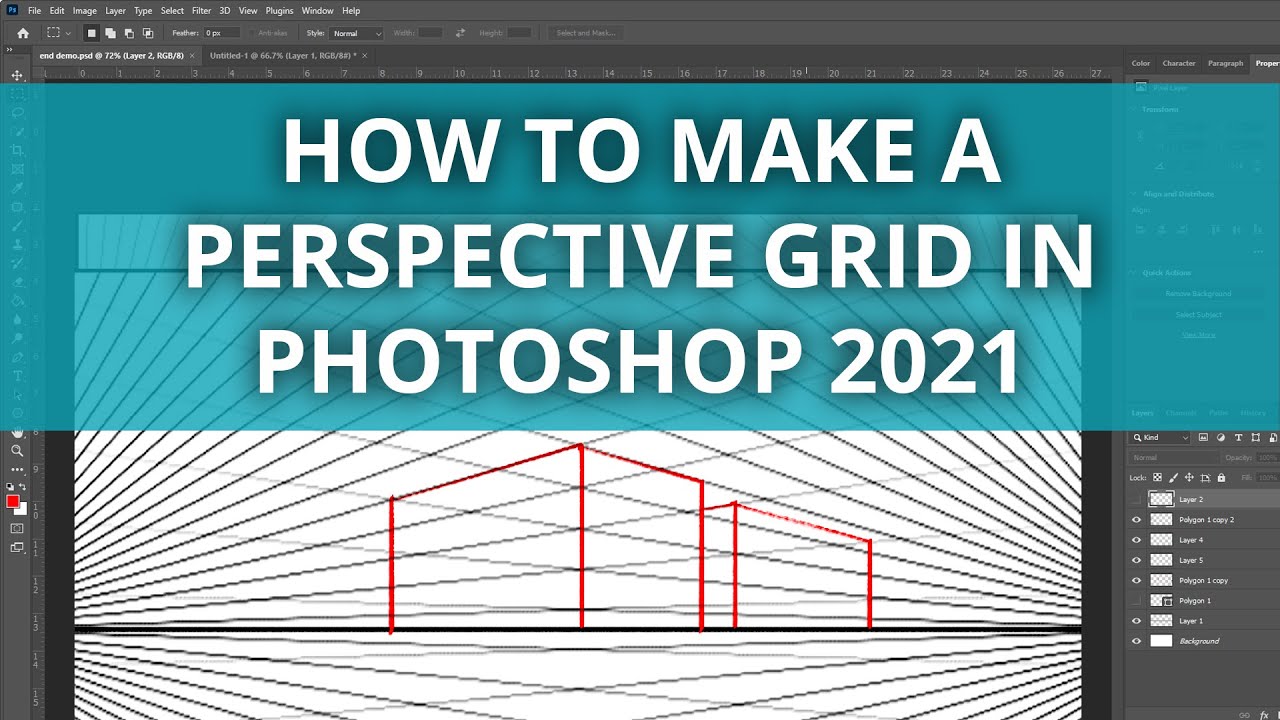
How To Make A Perspective Grid In Photoshop 2021 Youtube
Setting Up A Perspective Grid Guide In Photoshop Youtube
How To Make A Perspective Grid In Photoshop Tutorial Youtube

Perspective Grid Tutorial With Photoshop Cs6 By Kibbitzer On Deviantart
Create A Live Interactive Perspective Grid Inside Photoshop For Drawing Youtube
How To Make An Easy Perspective Grid On Photoshop By Iingo On Deviantart
0 comments
Post a Comment